Create a brand from Brands in company administration. A brand groups the sites, social accounts, users, templates, and publishing configuration that belong to the same editorial perimeter.
1. Create the brand#
- Open the main menu, then select Brands under Workspace.
- Select Create brand.
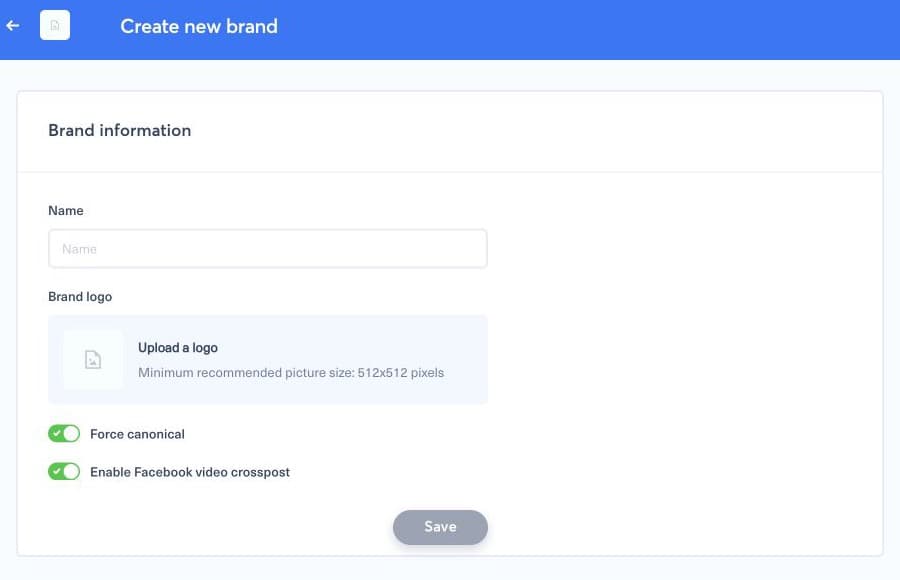
- Enter a clear, unique name. Use the publication or business name your team will recognize in filters.
- Select Upload a logo if you have a square brand mark. The form recommends a 512 × 512 pixel image.
- Review Force canonical. Keep it enabled when links should use the canonical URL supplied by the source page; disable it only when your documented publishing workflow requires the submitted URL instead.
- Review Enable Facebook video crosspost only if the connected Facebook configuration uses crossposting.
- Select Save once. Wait for the brand to appear in the list before leaving the page.
2. Finish the setup#
Creating the brand does not automatically attach a website or social account. Link the required site or domain, assign the publishing accounts, and grant users an appropriate role. Then confirm that the new brand appears in the brand filters on Posts and Bots.
If Save remains unavailable, check the required name and any highlighted field. If another brand already uses the intended perimeter, update that brand instead of creating a duplicate.