Create a publication with Create a new post, select its destination accounts, then compose and schedule it in the editor. Always check the preview and destination list before the final publication action.
1. Compose the post#
- Select Create a new post in the main navigation.
- Choose the brand or collection, then select the exact social accounts that should receive the post. Do not use Select all unless every displayed account is intended.
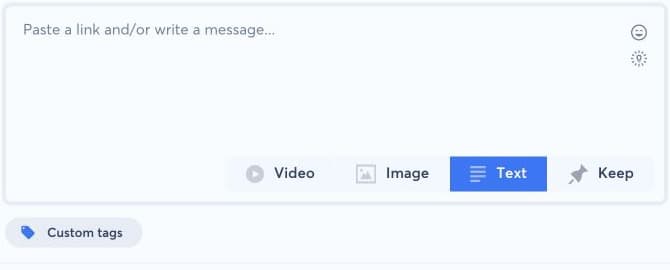
- Paste a link and/or write the message in the editor.
- Choose Video, Image, or Text according to the content. Use Keep only when the source content should remain attached as offered by the editor.
- Add Custom tags when your team uses them for filtering or reporting.
- Review the network previews. A network can impose different text, media, ratio, duration, or feature constraints.
2. Choose when to publish#
Select immediate publication, a precise schedule, Smart Schedule, or an available smart window according to your workflow. Confirm the company timezone and the displayed date before continuing. On the final button, review the selected action once more, then submit only once.
After submission, check Scheduled for a future post or Publications for an immediate one. If an error appears, keep the exact message and follow the publication error guide before cloning or retrying, because an uncertain network response can otherwise create a duplicate.